PowerPoint Sections: How to Create Sections in PowerPoint to Reorganize Presentations Quickly
In this tutorial, you’ll learn how to use PowerPoint sections, including how to create them, rename them, and use them to rearrange entire segments of the presentation in the Slide Sorter View.
PowerPoint Sections: How to Create Sections in PowerPoint to Reorganize Presentations Quickly
PowerPoint sections are useful for collapsing and expanding multiple slides, removing multiple slides, and rearranging segments of presentations.
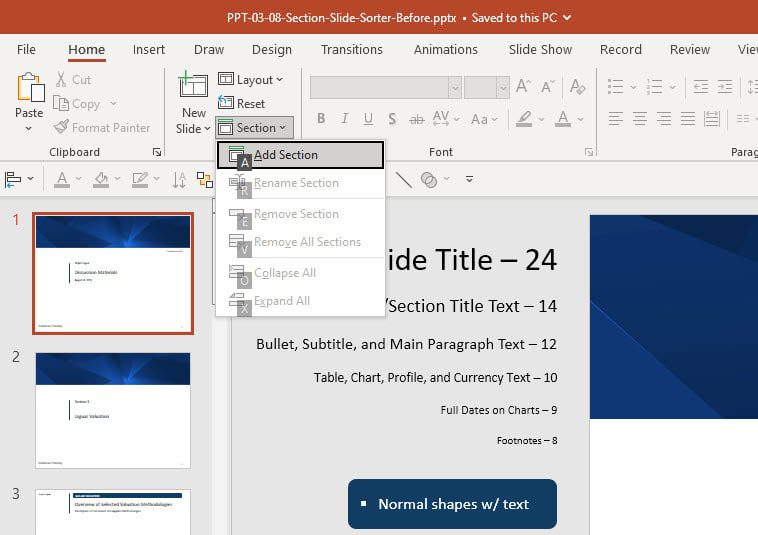
To add a section, press Alt, H, T1 in the PC version of PowerPoint and select “Add Section”:
(This shortcut is Alt, H, T in older, non-365 versions; there is no built-in Mac shortcut for this command, so you must go to the “Home” menu and click on “Section” manually.)
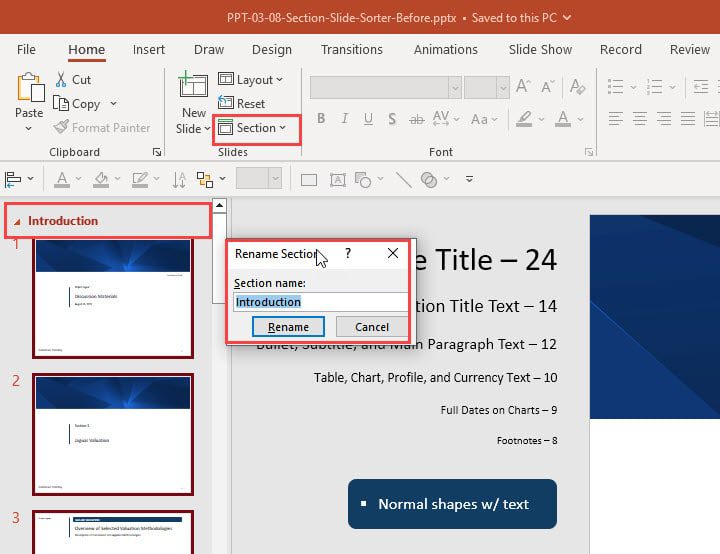
Once you do this, the section name will appear on the left-hand side of the screen on top of the presentation slides in this new section:
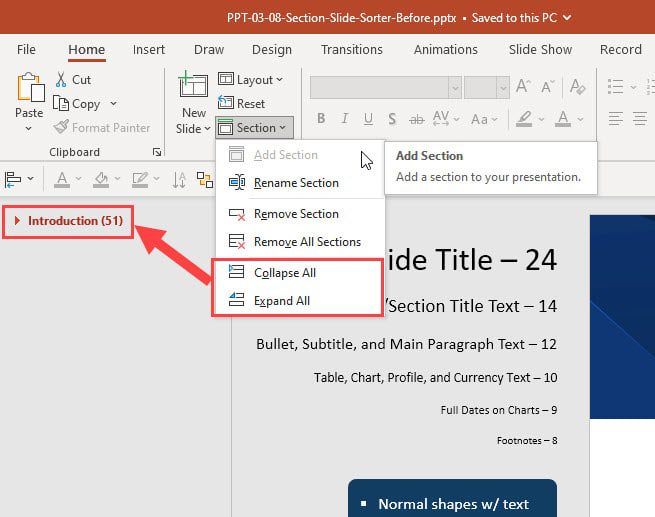
You can now collapse and expand all the slides in this section by right-clicking it or going to the “Section” menu with Alt, H, T1:
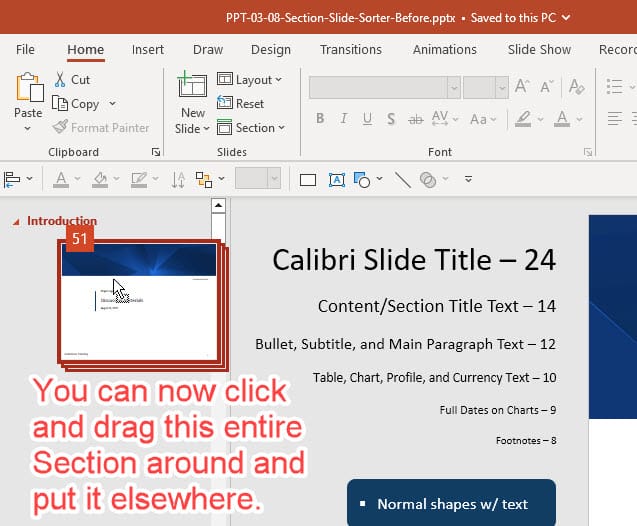
You can also drag around the section and put it before or after other parts of the presentation:
Sections are useful in this “normal view,” but to use them most effectively, you’ll need to enter the Slide Sorter View (see below).

-
Become a presentation machine
Master the key shortcuts and commands for “warp speed” slide creation
-
Acquire the skills with dozens of practice exercises
Learn by doing – and check your work against the solutions
-
Save hours with our full macro package (25+ macros)
Automate formatting, tables, alignment, drawing guides, and more
[Click the “Files & Resources” tab to get all the PowerPoint files for this lesson.]
The Slide Sorter View and PowerPoint Sections
The default viewing mode in PowerPoint is too limited to use sections effectively because you can only see a few slides on the screen at once.
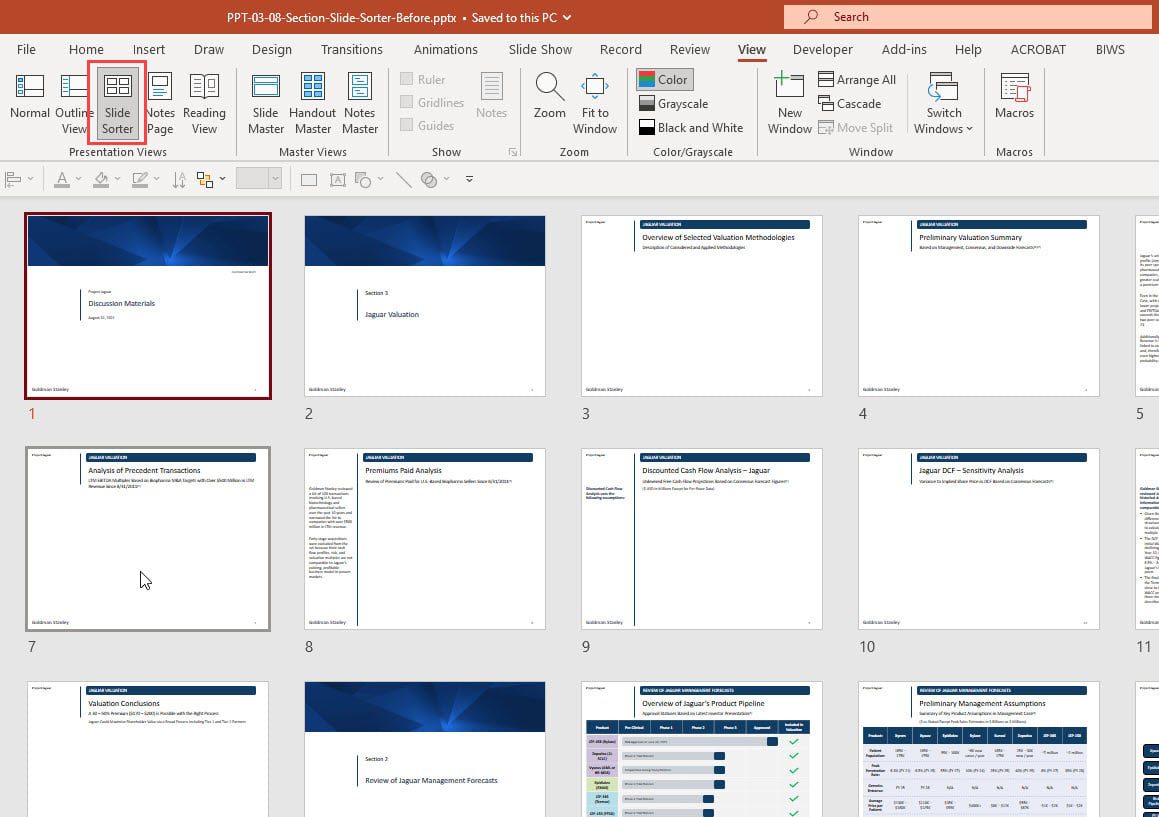
To use sections more effectively, you should enter the Slide Sorter View with the Alt, W, I shortcut (⌘ + 2 on Mac):
This “Slide Sorter View” removes the main slide edit area and presents only a high-level presentation summary.
You can’t use this view to edit slides, but you can use it to move around normal slides.
To return to the “normal view,” press Alt, W, L on PC or ⌘ + 1 on Mac.
Most shortcuts that work in the normal viewing mode of PowerPoint also work in the Slide Sorter View:
Move to Previous or Next Slide: Arrow Keys (PC / Mac)
Jump to First Slide: Home (PC) / Fn + <– (Mac)
Jump to Last Slide: End (PC) / Fn + –> (Mac)
Select Multiple Slides: Shift + Click (PC / Mac)
Insert Slide: Ctrl + M (PC) / ⌘ + Shift + N (Mac)
Insert Slide and Select Layout: Alt, H, I / N/A on Mac
Delete Slide: Del (PC / Mac)
Duplicate Current Slide: Ctrl + Shift + D (PC) / ⌘ + Shift + D (Mac)
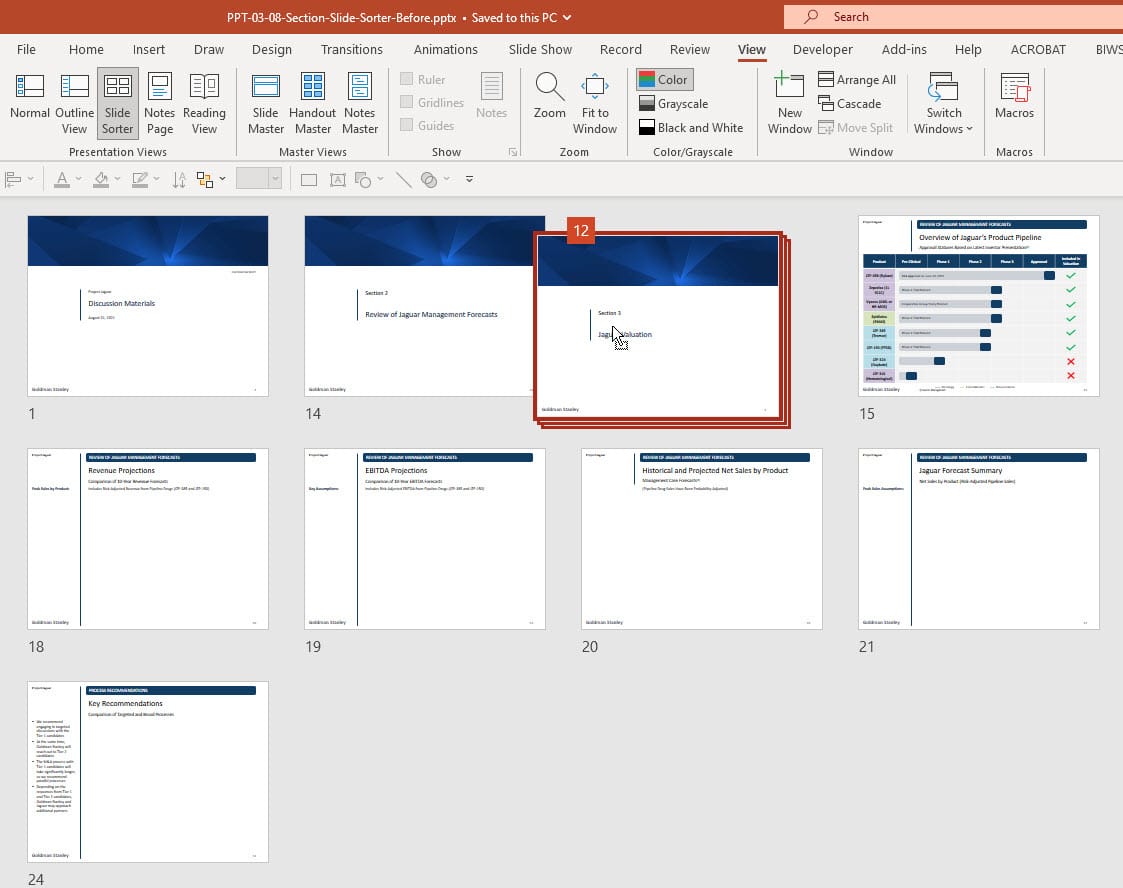
Without even using sections, you can select multiple slides in the Slide Sorter View by pressing Shift and clicking on each one, and you can drag them to any position you want:
Doing this in the normal editing view is much less efficient because you must scroll to select multiple slides.
How to Create Sections in PowerPoint: Best Practices
When you add sections in PowerPoint, you should always start at the end of the presentation and move to the front.
When you add a section, PowerPoint applies it to all the slides after the insertion point – so if you add a section on slide 1, every slide in your presentation will be in that section!
Let’s say that your presentation has 25 slides, and they’re organized like this:
Slides 1 – 10: Introduction
Slides 11 – 14: Market Analysis
Slides 15 – 19: Leadership Team
Slides 20 – 25: Conclusions
If you want to add sections to this presentation, you should open the Slide Sorter View, go to slide 20, and add the “Conclusions” section there with Alt, H, T1, A.
Then, you should move to slide 15 and add the “Leadership Team” section, move to slide 11 and add the “Market Analysis” section, and, finally, move to slide 1 and add the “Introduction” section.
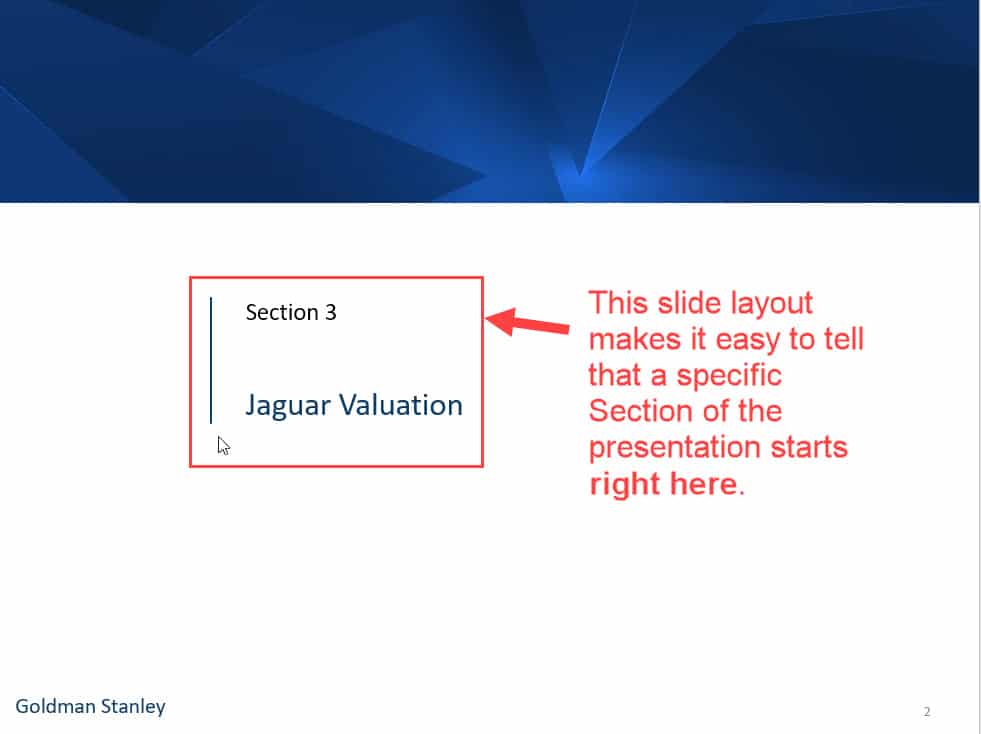
Ideally, each section will start with a normal slide that indicates the section’s title or marks it as the next “part” of the presentation.
We follow this approach in the Jazz Pharmaceuticals slides here:
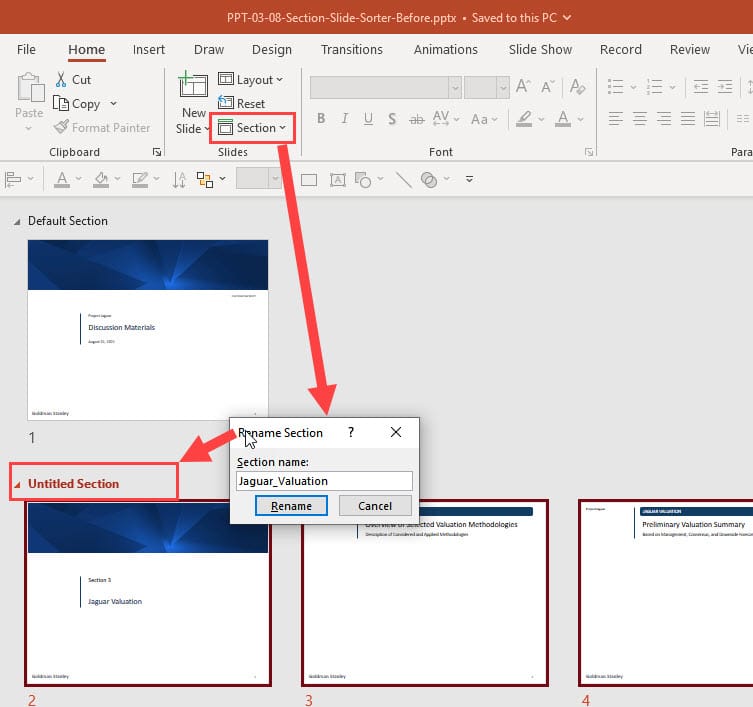
With these “Section Divider” slides in the normal presentation, it’s easy to enter the Slide Sorter View and use the Alt, H, T1 shortcut to add sections in the right spots:
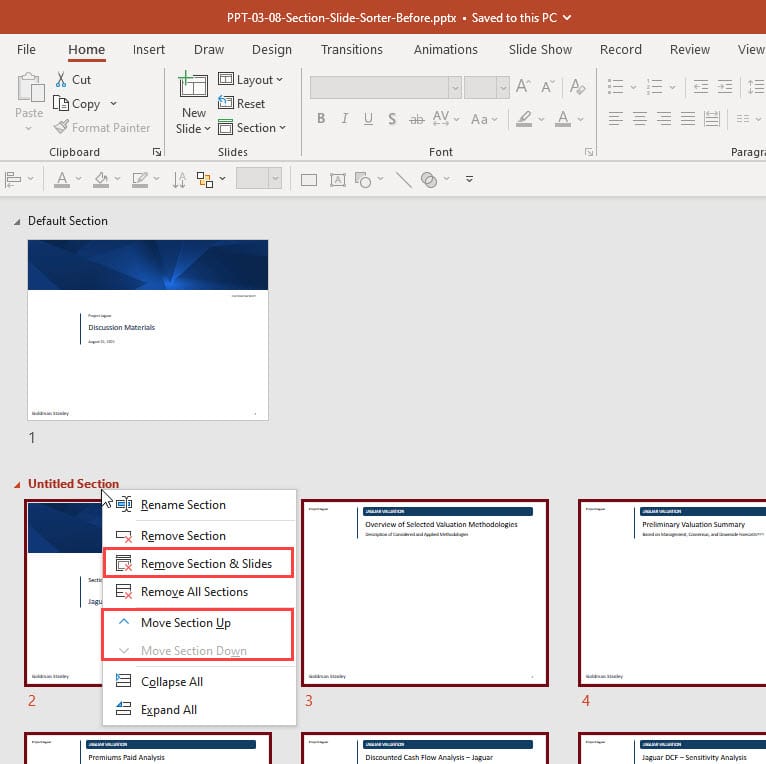
In the Slide Sorter View, you can also press the Right Mouse Button (RMB) on a Section Name to activate additional commands, such as “Remove Section & Slides” and “Move Section Up/Down”:
These commands can be useful if you start with an existing presentation and remove large parts rather than specific slides.
PowerPoint Section Practice Exercise: How to Add Sections to a Long Presentation
Your practice exercise in this lesson is to take the “Before” version of the Jazz Pharmaceuticals slides, add sections in the right spots, and rearrange the entire presentation so the sections are in the correct numerical order.
The presentation should start with Section 1 and then move to Section 2, 3, and so on, and the last two parts should be Appendix A and Appendix B.
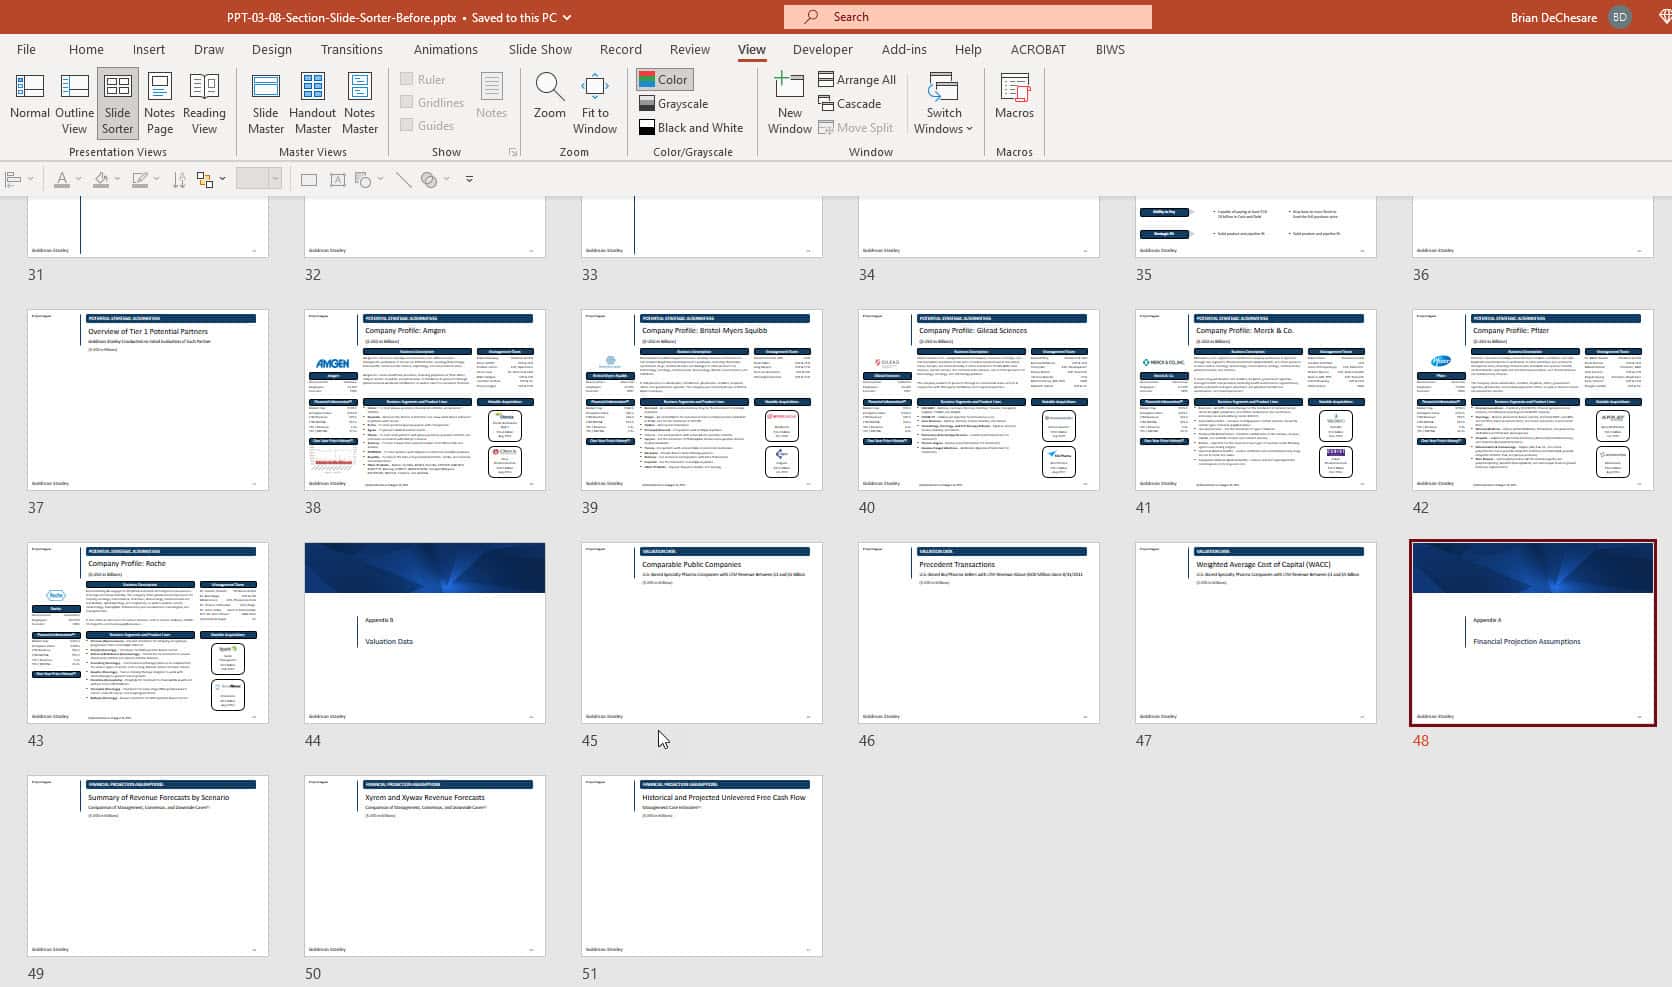
You can start this exercise by entering the Slide Sorter View with Alt, W, I, and jumping to the end of the presentation with the End key (Fn + –> on Mac):
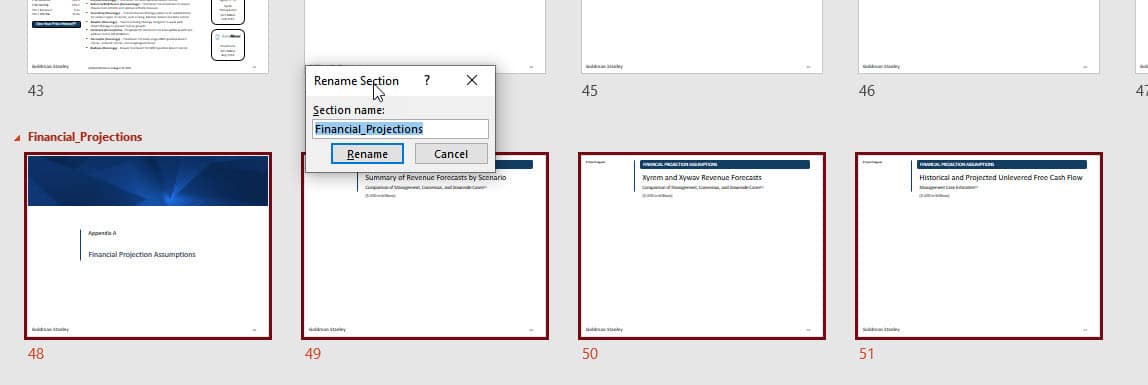
You can then move to slide 48 and press Alt, H, T1, A to add a section and name it “Financial_Projections”:
And then, you can proceed backward to slide 44 and add a section and name for the Appendix B slides.
Next, go to slide 32, add a section, and do the same on slides 28, 23, 14, and 2.
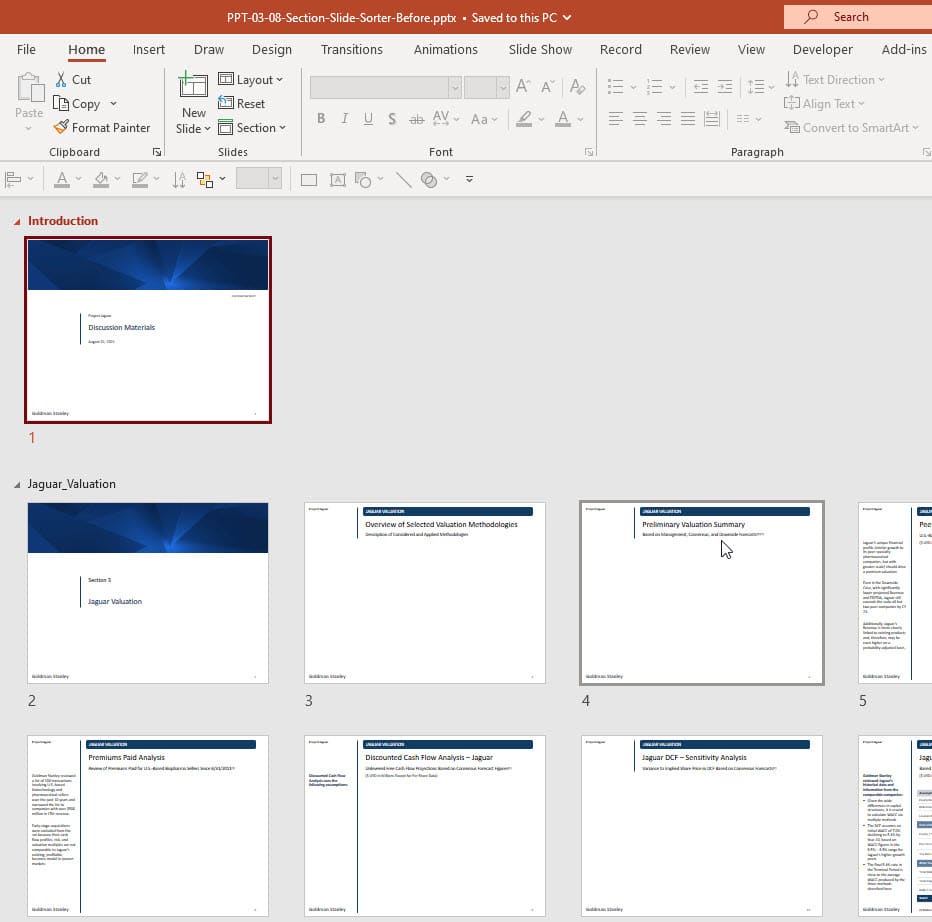
When you’re done, your presentation should look like this in the Slide Sorter View:
Now you need to reorder the presentation.
For this part, you might have to enter the normal viewing/edit mode with Alt, W, L to read the “Section Numbers” on each divider slide.
For your reference, here’s the correct numerical order:
Section 1: Market Update and Summary
Section 2: Review of Jaguar Management Forecasts
Section 3: Jaguar Valuation
Section 4: Potential Strategic Alternatives
Section 5: Process Recommendations
Appendix A: Financial Projection Assumptions
Appendix B: Valuation Data
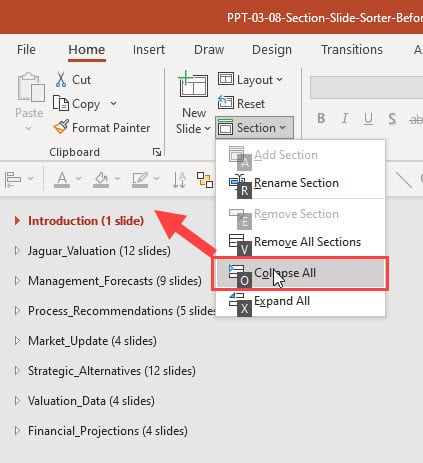
For this part of the exercise, it’s useful to collapse all the sections with the Alt, H, T1, O shortcut so you can focus on just their order:
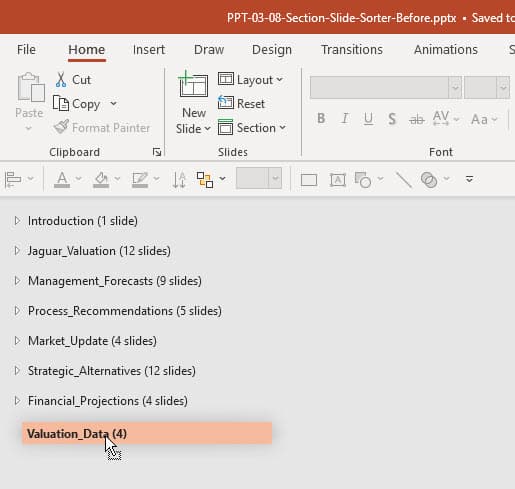
Once you’ve done this, you can click on each section name and drag it up or down to put the section in its proper position:
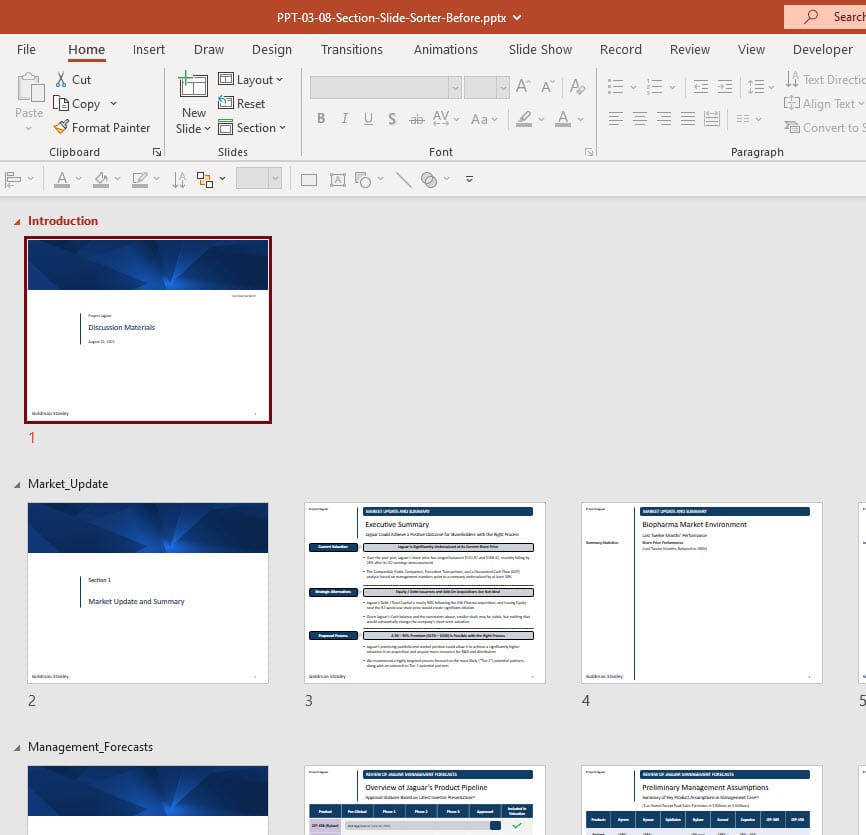
When you’ve finished rearranging all the sections, you can expand everything once again with Alt, H, T1, X, and your presentation should look like this in the Slide Sorter View:
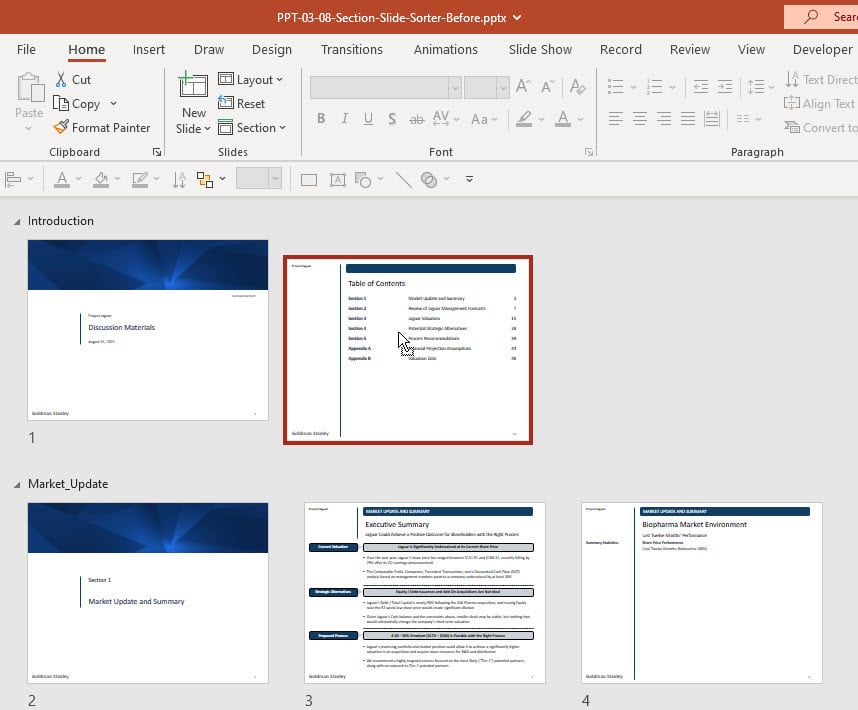
Finally, you’ll need to move the “Table of Contents” slide to the Introduction section.
Currently, it’s at the end of the “Management Forecasts” section, which is incorrect:
Beyond PowerPoint Sections: More Advanced Methods for Organizing Your Presentations
Sections and the Slide Sorter View are very useful for organizing and reordering your presentations, but they only scratch the surface of the proper PowerPoint setup required for investment banking pitch books.
It’s also critical to understand the Slide Master, templates based on custom layouts, and how to use tools such as Drawing Guides, Theme Colors, and “reference shapes” to make your presentations easy to modify.
We cover all that and more in the full PowerPoint Pro course on this site, and we even give you tools and templates for workflow automation, including our full PowerPoint macro package.

About Brian DeChesare
Brian DeChesare is the Founder of Mergers & Inquisitions and Breaking Into Wall Street. In his spare time, he enjoys lifting weights, running, traveling, obsessively watching TV shows, and defeating Sauron.
